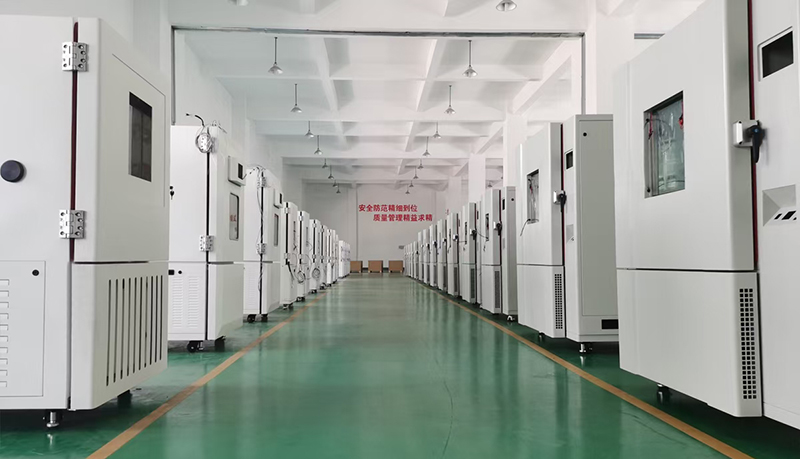
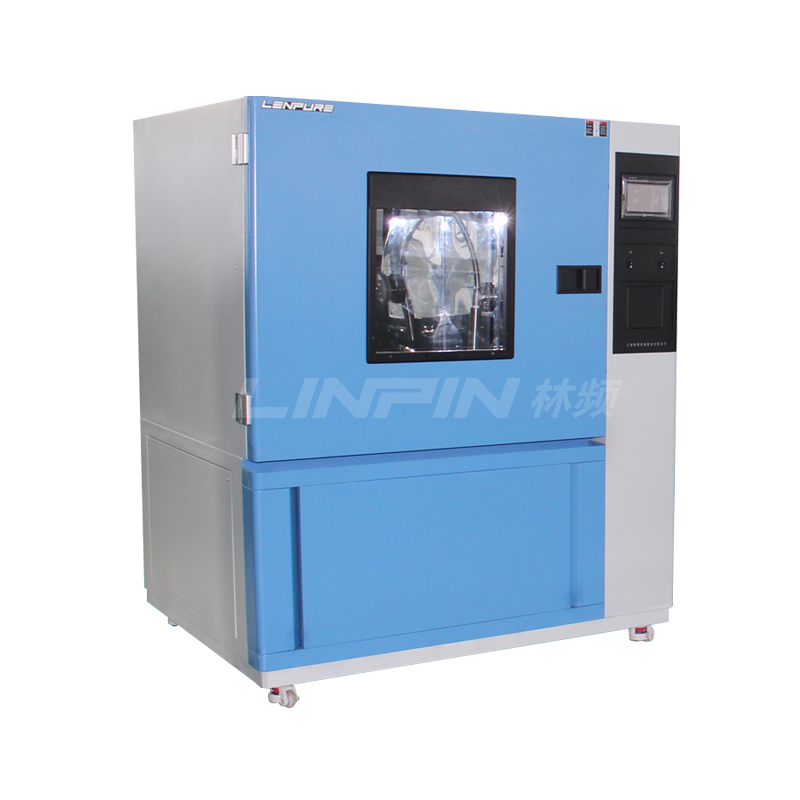
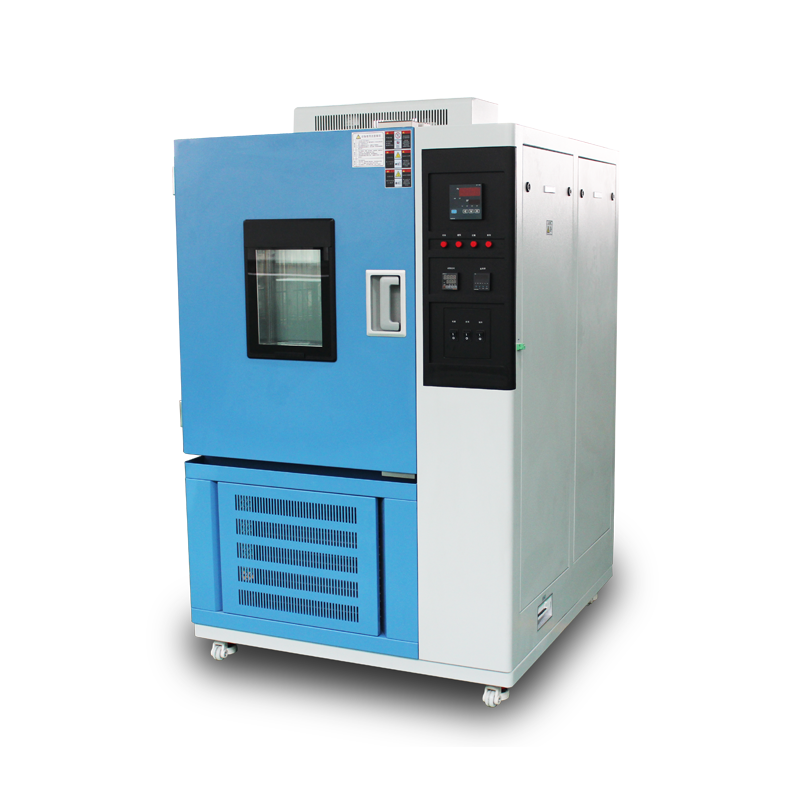
Low-temperature test chambers are widely used in fields such as aerospace, automotive, home appliances, and scientific research. They help determine the adaptability of certain products or materials under different environmental temperatures. These chambers achieve adjustable internal temperatures, microcomputer control, digital temperature display, high-density insulation layers, and energy-saving features. They also have automatic protection mechanisms, such as leakage and fault alarms, which trigger automatic shutdown during tests.
During the refrigeration process, improper operation can easily lead to refrigerant leakage. If this occurs, the following steps can be taken to address the issue:
Identify the Leakage
Check the pressure gauge on the back of the test chamber. If the pressure is below the normal range, it indicates refrigerant leakage.
Use a leak detector or soapy water to inspect the copper pipes, joints, and valves for leaks. Typically, there is only one leak point, but multiple points are also possible.
Locate and Repair the Leak
Once the leak point is identified, use oxy-welding to seal the leak tightly.
After welding, fill the system with nitrogen and conduct a 48-hour pressure hold test. If the pressure gauge needle does not move, the repair is successful.
Release the nitrogen and refill the system with the appropriate refrigerants, such as R404 and R23.
Safety and Maintenance
If refrigerant leakage or other issues are detected, do not attempt to disassemble the chamber yourself to avoid further damage. Instead, contact professional maintenance personnel.
Regular maintenance, such as checking the refrigeration system for wear and tear, can help prevent future leaks. Installing a refrigerant leak alarm can also provide early detection and automatic shutdown.
By following these steps, refrigerant leakage in low-temperature test chambers can be effectively resolved, ensuring the safe and reliable operation of the equipment.
 Temperature and humidity test chamber Salt spray test chamber Aging test chamber New Energy Test Chamber IP protection testing equipment Non standard customized laboratory High and Low Temperature Test Chamber Thermal Shock Test Chamber Constant Temperature and Humidity Test Chamber High and Low Temperature Low Pressure Test Chamber Salt Spray Test Chamber Rapid Temperature Change Test Chamber High and Low Temperature Alternating Humidity Test Chamber High and Low Temperature Humidity Test Chamber Low Temperature Test Chamber High Temperature Test Chamber High and Low Temperature Alternating Test Chamber Damp heat test chamber for antirust oil and grease UV Aging Test Chamber Ozone Aging Test Chamber Ventilation Aging Test Chamber Rain Test Chamber Sand and Dust Test Chamber Sulfur Dioxide Test Chamber Mold Test Chamber Ultra-Low Temperature Test Chamber Salt Spray Corrosion Test Chamber Condensation Test Chamber HAST Test Chamber Thermal Vacuum Test Chamber Battery Explosion-proof Test Chamber New energy battery test chamber Photovoltaic PV module UV test chamber Sunlight simulation test chamber Photovoltaic wet freezing test chamber Photovoltaic Dustproof Test Chamber


 EN
EN
 中文
中文 Pусский
 Tiếng Việt
 ภาษาไทย
 پاکستانی زبان