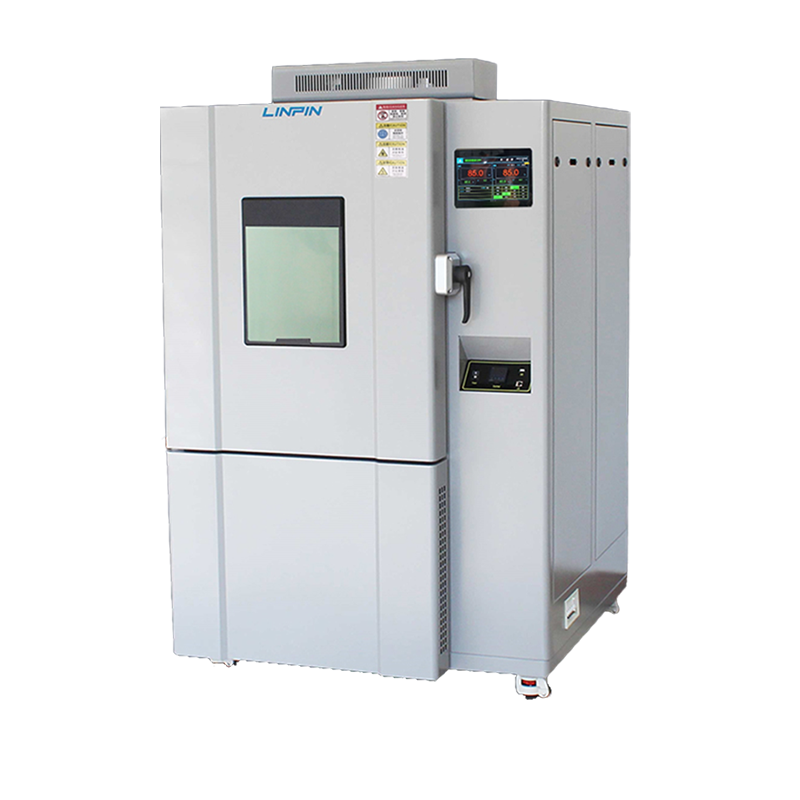

After prolonged use of a temperature and humidity test chamber, certain components or systems may develop issues, such as sediment buildup in the water system. To ensure accurate test results, regular cleaning of the water system is essential. So, what is the specific cleaning procedure?
Cleaning Process Step by Step:
Preparation
Open the equipment chamber door.
Turn off the main power supply.
Rotate the drain valve to the “Open” position to allow water to drain from the system into the water collection bucket via the return pipe.
Draining the System
Remove the return pipe and disconnect the pump power cord.
Detach the pump outlet pipe.
If water leaks from the pump outlet, do not panic—this is normal. Simply press the pump outlet with your hand while quickly emptying the water collection bucket.

Cleaning Components
Clean all internal components thoroughly.
After cleaning, reposition the water collection bucket.
Reassembling the System
Reconnect the return pipe, pump power cord, and outlet pipe.
Fill the water collection bucket with distilled or purified water.
Close the drain valve by rotating it to the “Closed” position.
Restarting the System
Turn on the main power supply.
The pump will now circulate water from the bucket back into the system, completing the cleaning process.
Importance of Regular Maintenance
The water system is crucial for maintaining humidity accuracy in the test chamber. Many users neglect maintenance, leading to reduced precision or even equipment failure, which can disrupt testing. Therefore, routine cleaning is essential.
If any worn or damaged parts are found during cleaning, replace them immediately to ensure optimal performance.